Brief
Learning how to mix grout is a simple task for any DIYer. But you need to get it right. Here we tell what tools you need and how quickly you need to use it.
Insight
You need to know the ins and outs of how to mix grout if you are taking on a tiling job. Grout is the key finishing component of a tiling task and while mixing is a straightforward task it needs to be done correctly. For example, add too much water and you will weaken the grout mix which means that it cannot do its job properly.
If you are tiling a wall you need to make sure that the grout is in prime condition and mixed thoroughly so it is not lumpy. This makes it difficult to apply and get the ideal finish. If the mix is to dry it will set too quickly and be difficult to work with.
Follow our essential guidelines to make sure your grout mix is the right consistently to get its job done as desired.
How to mix grout: The tools you’ll need
Before you begin mixing, it’s important to have the right tools to hand. These include:
- Bucket
- Whisk
- Filling knife
- Drill
- Mixer paddle
How to mix grout in two easy steps
1. Check manufacturer’s instructions
Different grouts can have different mixing ratios, so the first thing to do is check the quantities you need. The bond strength, colour and performance can be compromised if you do not mix the grout as instructed. Check the packaging to see what water to grout ratio you need.
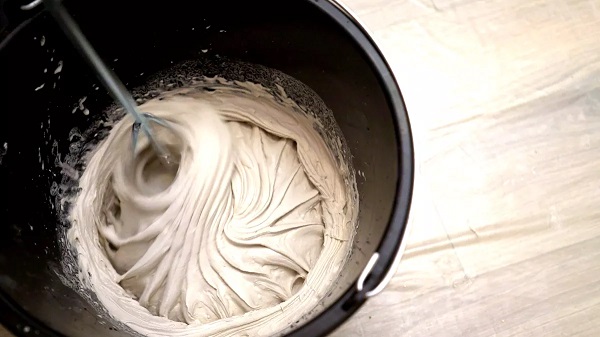
2. Add water, grout and mix
Make sure that your mixing bucket or container is clean. Add a splash of water, swirl around and and throw away to get rid of any debris.Now add the required amount of water. Now add half the grout and quickly mix before adding the second half and mixing. Make sure that there is no dry mix left in the bottom.
READ MORE


Recent Comments